Lego Advent calendar
Last year for the month of December we decided to put together our own unique Lego Advent calendar. I was looking at buying the official ones, but I didn’t love them – I wanted something where they would build on one thing all month long. It required a lot of prep on our part but was a HUGE hit! I’m starting to think about doing it again this year. I remembered that a few people were interested in doing something similar themselves, so I thought I’d share our process.
First, I chose a Lego set for each kid with about 200 pieces each. I looked for something that was one big thing versus some of the sets that are a collection of smaller builds.
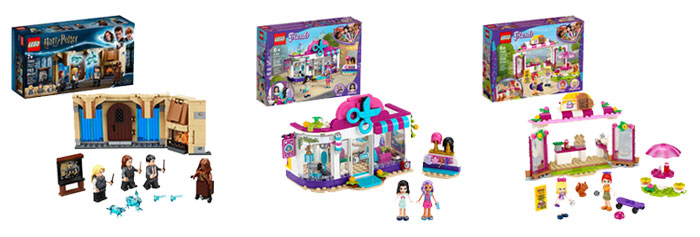
Lego Harry Potter Room of Requirement #75966
Lego Friends Heartlake City Hair Salon #41391
Lego Friends Heartlake City Park Café #41426
We wanted the end result to be a surprise to the girls, which is really why the prep was so much. First, I downloaded the instructions as a PDF from the Lego website. I divided the instructions in 24 days – which worked out to be roughly 3 steps per day. I rearranged them a little so they would build the main thing first and then the additional pieces last. Being a graphic designer, I pulled out my trusty InDesign and Photoshop software and put each instruction onto a single sheet of paper which we then printed out. We folded them, numbered them all by date (December 1st-24th), and wrapped with a rubber band. I really wish I had pictures to share of these steps, I apologize!
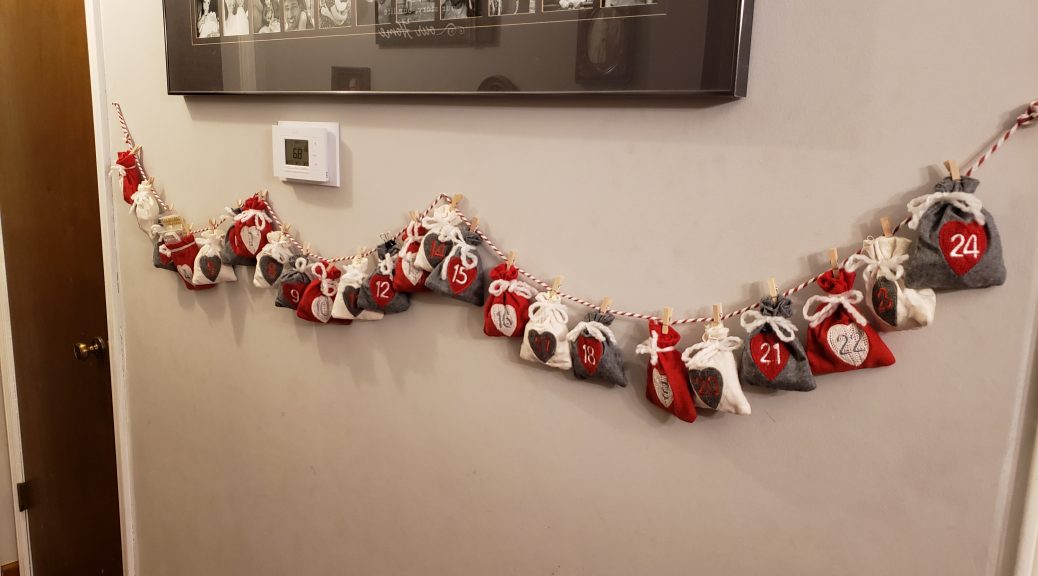
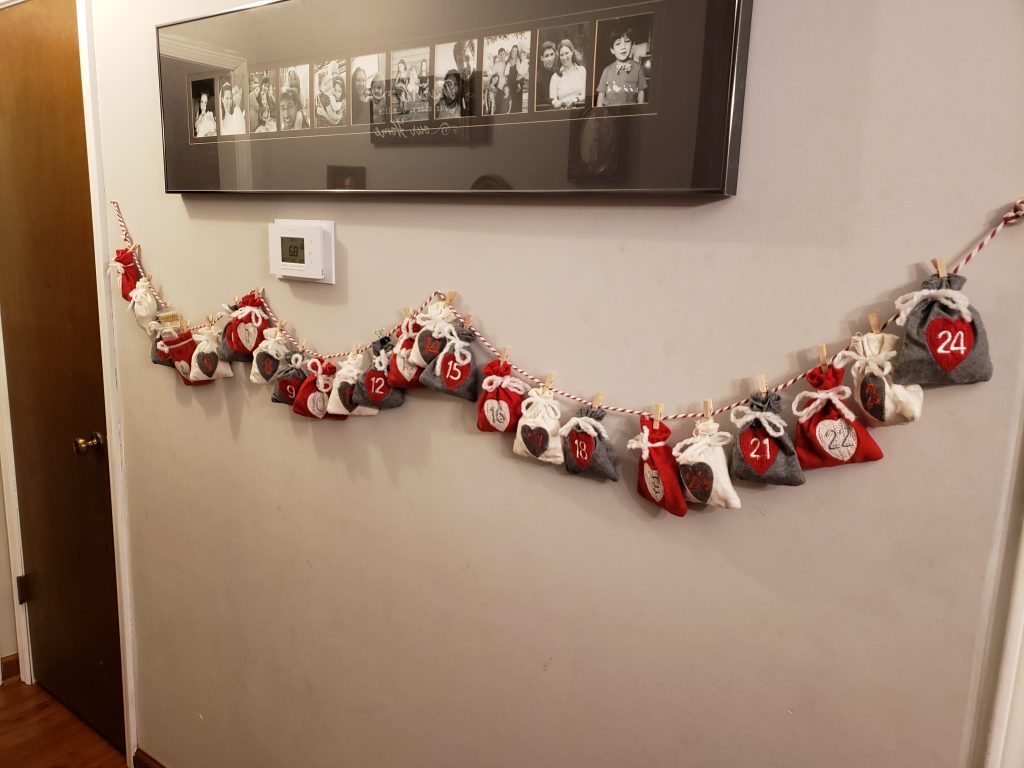
We got some small plastic baggies and put the pieces needed for each day’s build in a bag, labeling with a sharpie whose build it was. We found doing each set one at a time prevented us from mixing them up and getting confused! We then put it in our advent calendar, which I think we got at Aldi a few years ago.

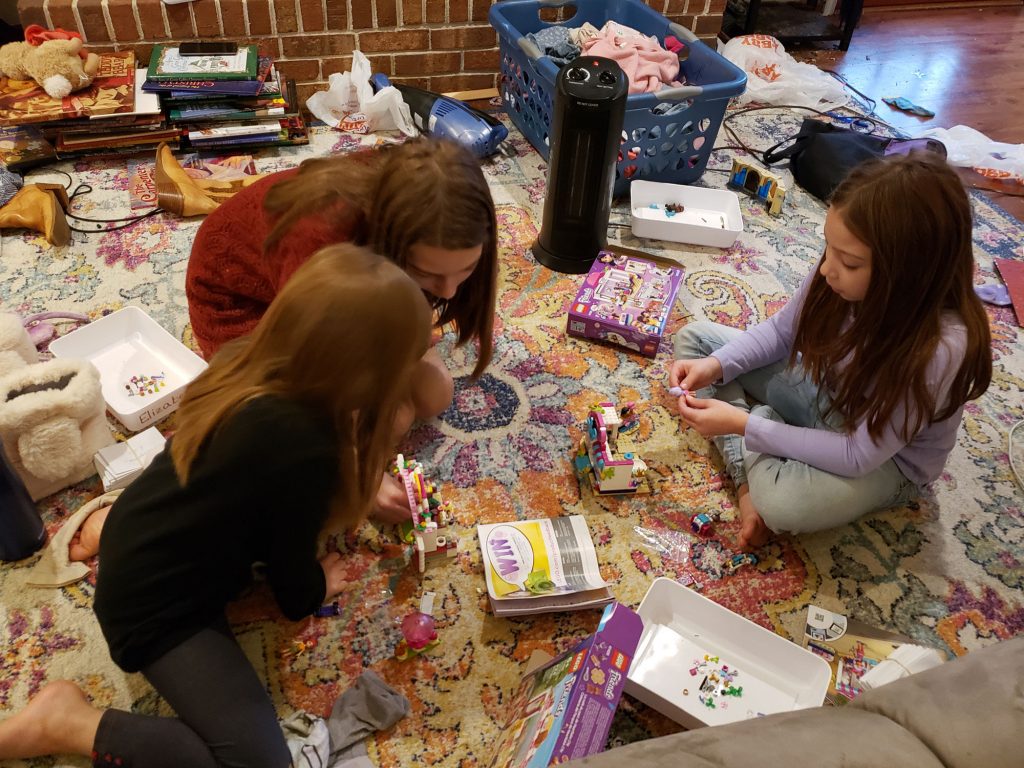
So each day in December, the girls opened the pouch to find 3 little baggies, one for each of them. We handed out the printed instructions for that day (which we just kept separate) and they put it together. It was a lot of fun to see the build coming together and for them to guess what they thought it might be! We used 3 small trays to keep their pieces together during the month, which definitely made it easier. On Christmas Eve when the set was finished we let them play with it!
It was a lot of fun and the girls loved it and asked to do it again. I had the idea of buying a bigger, more expensive set and having them all work on it together, but they said they preferred having the smaller individual sets. (By the way, we are still building our Lego collections so right now, they generally each get a set for Christmas. This is something we plan and budget for, and is part of their Christmas gift. If you’re looking for something that uses your existing Legos, then my cousin Jenny has a different solution that might fit your needs better!)

It looks like the cost of Legos has gone up this year (of course!) so I’m not able to find the $15-20 sets that I was last year… But I think I’ve found the ones I want to use. The biggest difference we’re going to do this year is do the instructions digitally. The cost of printing those last year made this project much higher than it needed to be (we don’t have a color printer so we just went to FedEx office, and due to the nature of the instructions we had to print in color… 24 days x 3…. yeah it adds up!), and then the papers were just thrown away (or recycled). So, digital it is. :-) But other than that, the only cost is Lego set and the baggies.
Side note – you could totally just cut up the instructions and hand them out page by page. I am way more perfectionistic than that, and like to overly complicate my life, hahaha. But if you’re cool with that then that’s a great way to go! And Lego, if you want to come up with sets that you have already pre-organized in 24 steps that would make my life so much easier. ;-)
If you want the 24-day instructions for the kits listed above, please email me and I will send them to you! If you are interested in the sets I’m going to do this year, give me a month to finish them. :-)
