01/18/16

Our kitchen’s major transformation

I was going to wait until the end of my posts to share pictures of my favorite part of the renovation, but I finally took after pictures today and am so excited to post them that I decided not to wait. :-) I have a bunch of in-progress pictures that I’ll share at a later date – I’m still sorting through them and trying to decide how much to post.

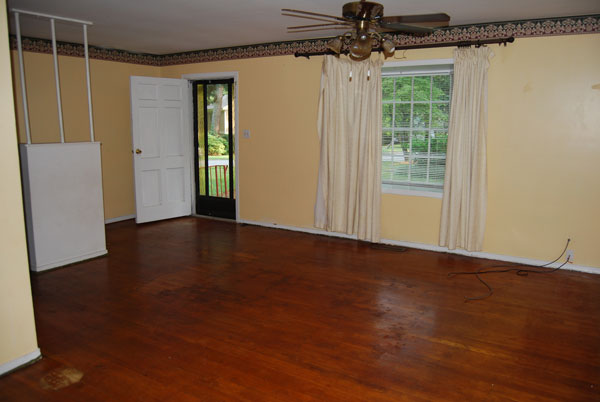
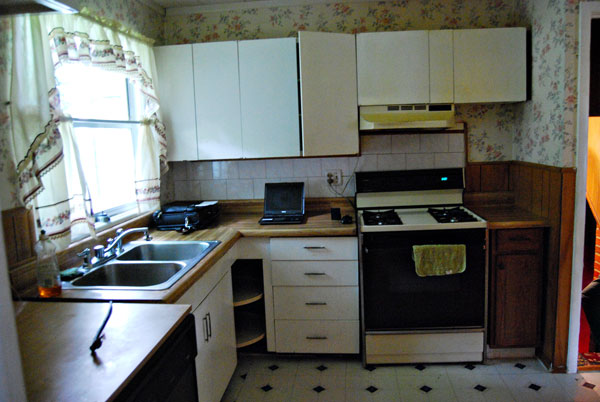
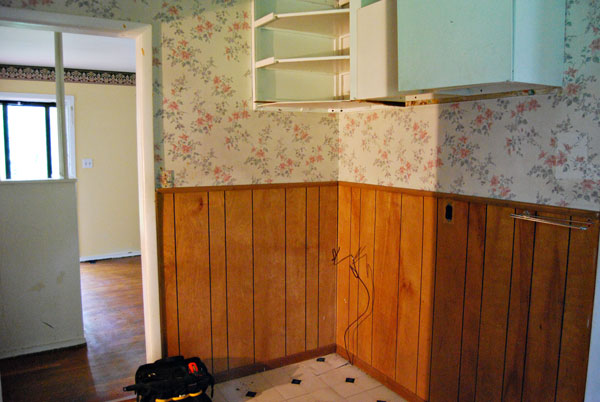
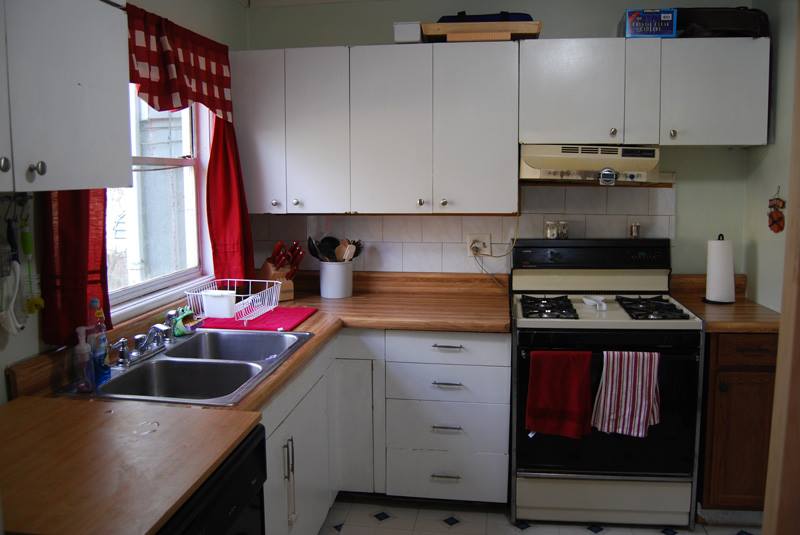
First, I will share pictures of our main level when we bought our house 6.5 years ago.

DSC_1136 DSC_1153 DSC_1157 DSC_1159

As you can see, it needed a bit of work. We did a bunch of painting when we first moved in, and then basically didn’t touch it for the next 6 years. I found it a very frustrating kitchen to work in – there was very little prep space, the cabinets were inefficient, and the portable dishwasher – while better than nothing! – was very annoying after a while. I did love the butcher block look of the laminate counter, but it was starting to come up in places and was not looking so great anymore.

10405340_837502128653_5479027832417978633_n 10990012_837502143623_5830833177615132226_n

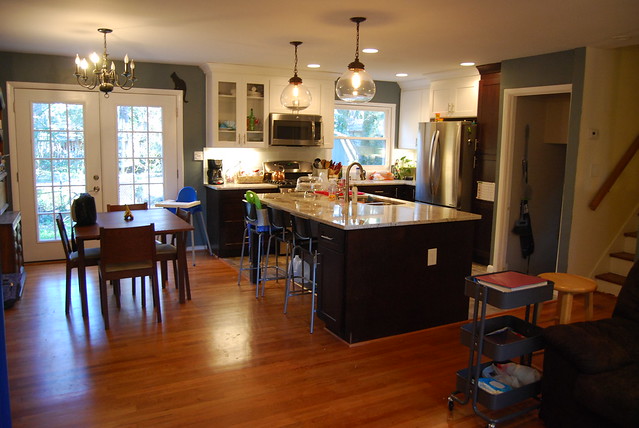
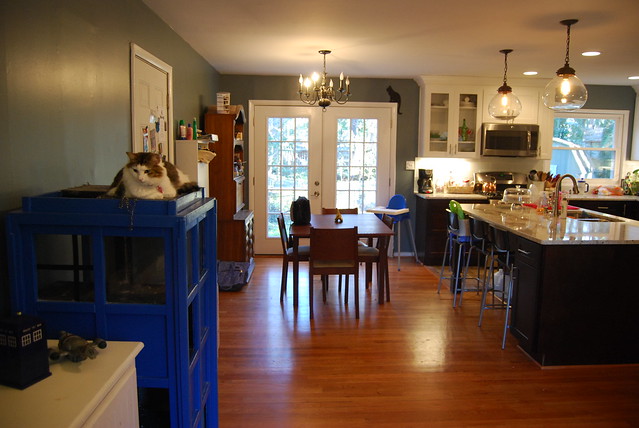
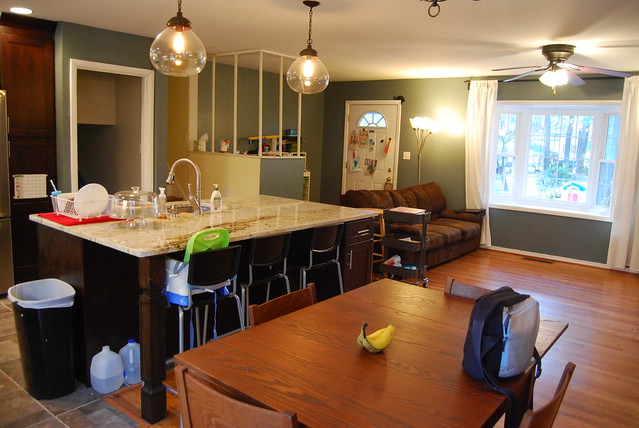
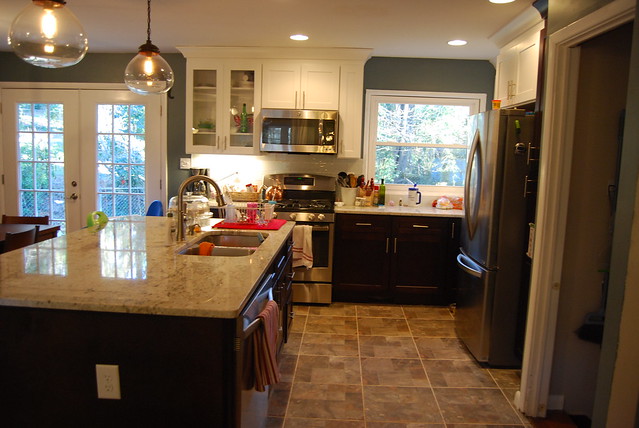
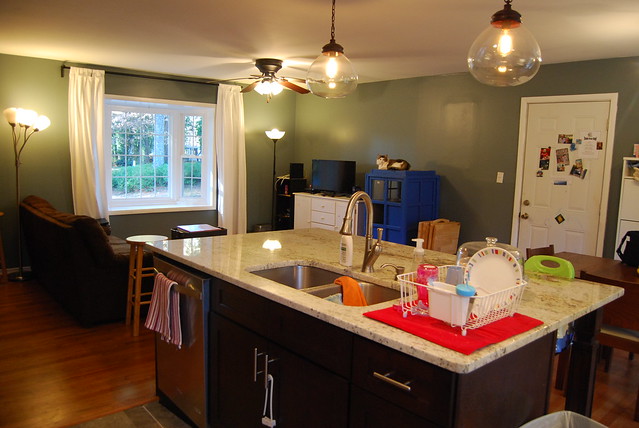
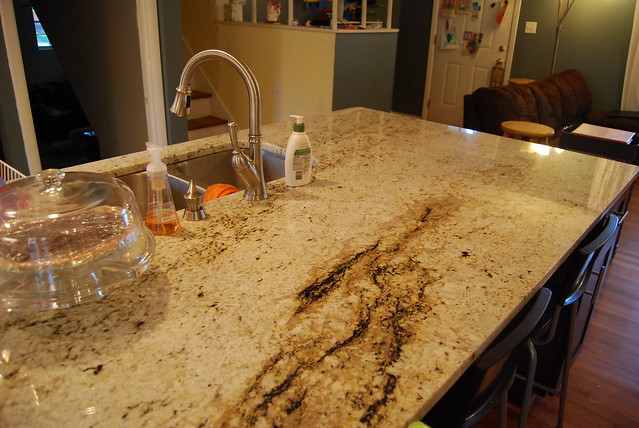
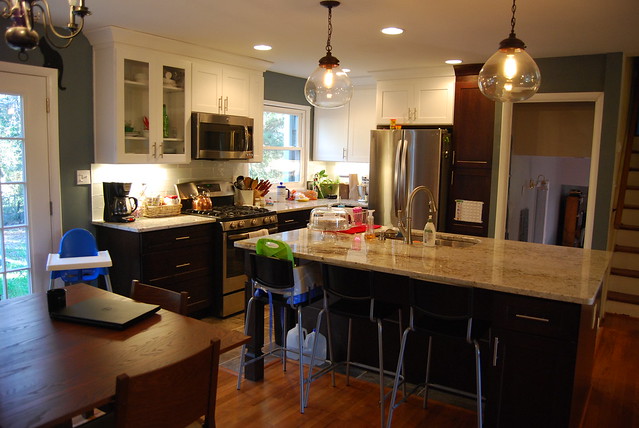
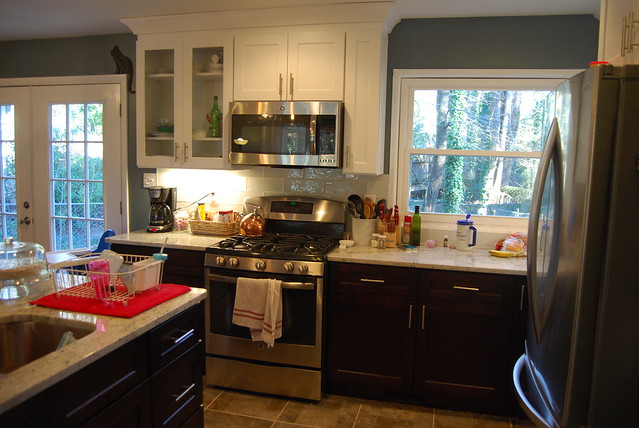
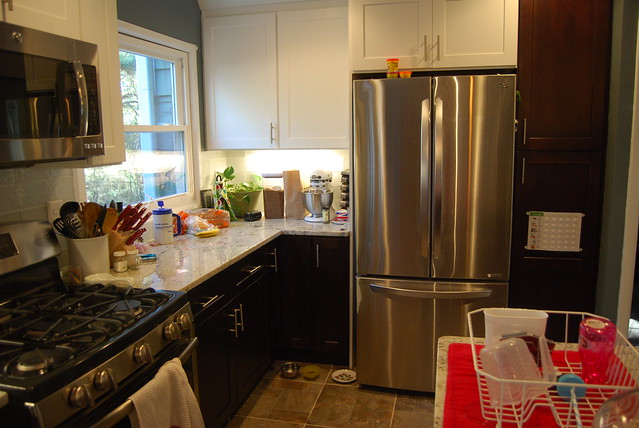
So basically, we gutted the whole kitchen. And the result is fabulous! I’m just going to inundate you with pictures now.

Kitchen Renovation: After!

Kitchen Renovation: After!

Kitchen Renovation: After!

Kitchen Renovation: After!

Kitchen Renovation: After!

Kitchen Renovation: After!

Kitchen Renovation: After!

Kitchen Renovation: After!

Kitchen Renovation: After!

As I said, the kitchen was gutted and basically everything is new. But, here is a list:
– removed 2 walls to open up the kitchen to the rest of the house
– replaced laminate peel & stick tile with porcelain tile on the floor
– window replaced with double-pane window
– sliding glass door replaced with French doors
– single light in the center of the kitchen replaced with 4 canned lights, 2 pendants over the island, and under cabinet lighting
– electrical updated (in the kitchen only) and proper GFI outlets installed
– HVAC vent moved to a toe-kick under the window
– appliances rearranged: fridge went where the stove was, stove moved to where the dishwasher was, and sink moved to the island and built-in dishwasher moved next to sink
– all new cabinets: white upper and espresso lower
– island installed in the area where the walls and fridge had been
– granite counters installed
– kitchen, dining room, living room, and foyer painted
– white glass subway tile installed as a backsplash
– new stainless steel appliances: refrigerator, gas stove, microwave, and dishwasher
– new sink and faucet
– hardwood floors refinished (sanded and sealed)

Whew! And that’s not even an exhaustive list of all the work that was done, period. I would like to go into more detail about the process and what I’ve learned about everything (ha!), but for now I will say I am so, so happy with how it turned out. I have really been enjoying cooking dinner every night, which is good because after eating out for 3.5 months straight I am ready for homecooked meals again! ;-)

10/27/13

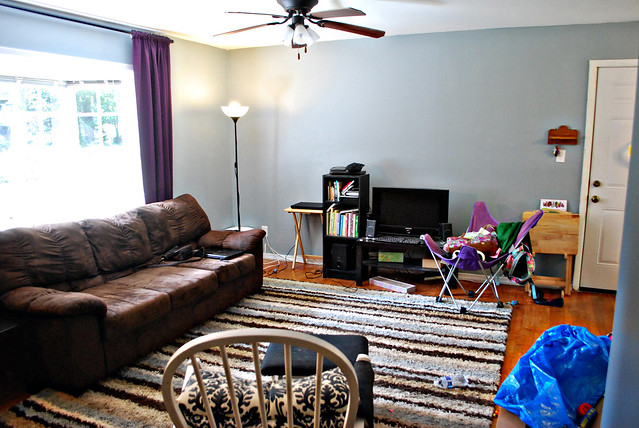
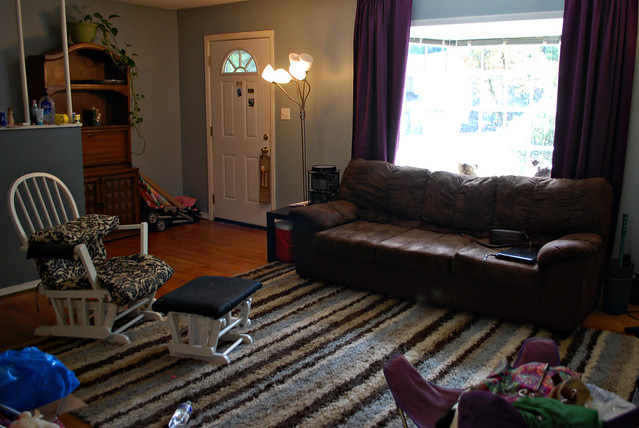
unveiling… a new look for the living area!

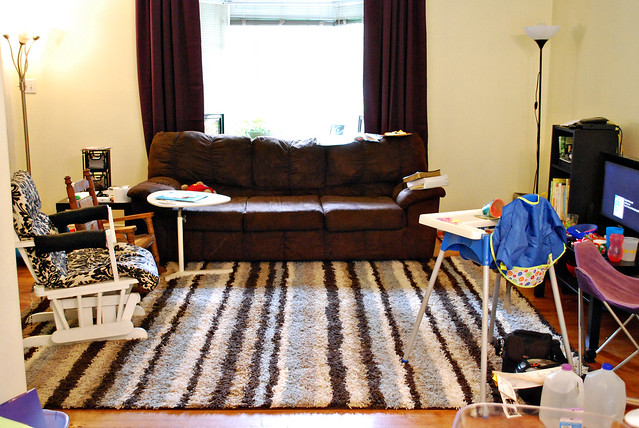
I will do an official before and after later when I clean up and finish the decor, but I wanted to share initial pictures to show off our new paint color.

When we bought our house, we painted every wall and ceiling. The living/dining room was the last room to be done, and at the same time Atlanta had the “500 year flood” where it poured heavily for 8 days straight. We couldn’t get the paint to dry (if only we’d had a dehumidifier then!), and we ended up moving in without being able to finish painting. We predictably never put on the final coat. For four years the splotchy and unfinished paint job has annoyed me. Finally this weekend with the help of my parents we rectified that!

It took me a while to decide on a color. I am very happy with the blue we chose. On the exterior walls, we did a lighter shade that was Behr Flint Smoke. On the interior walls, we did an accent color of Behr Nature Retreat. (You can see the whole paint family here.)

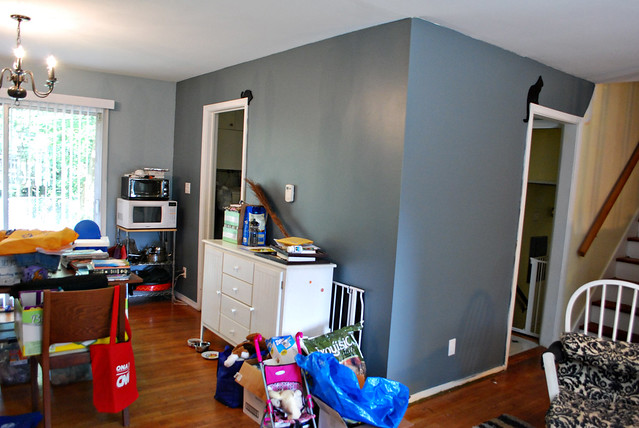
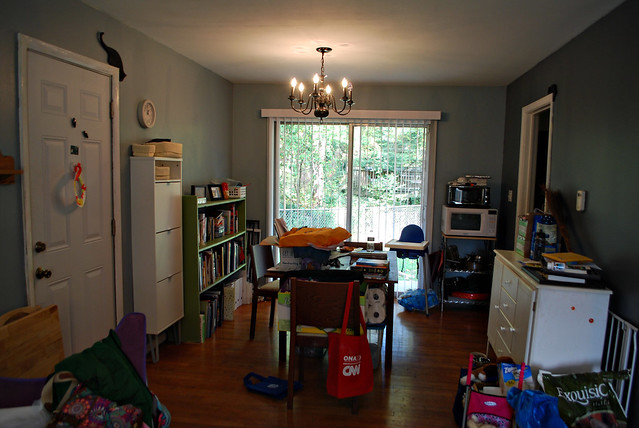
Here are before pictures:
Living Room

Living Room

Dining room

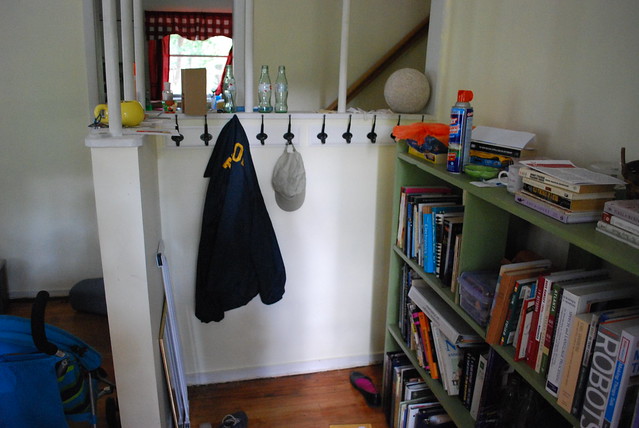
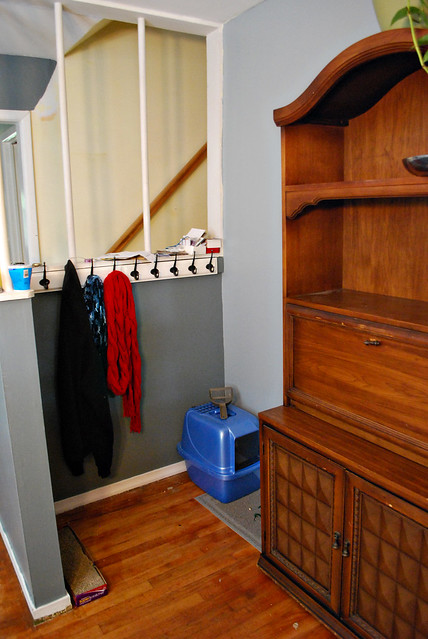
New hooks in the foyer

And the after pictures! It’s definitely a lot darker, but I was wanting to go darker than the yellow with more of a contrast between the walls and the white trim. We have more to do – there is some of the trim left to be painted, and I still have a ways to go until all our “stuff” is cleaned up, and I hope to hang pictures.

Living room

Living room

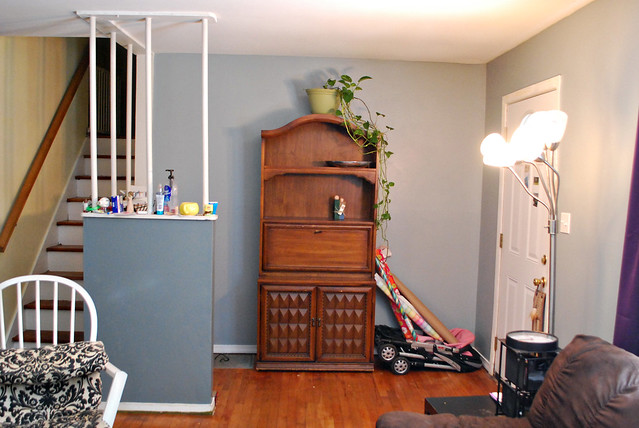
We switched the green bookcase in the foyer with this secretary that was in the dining room.

Foyer

Foyer

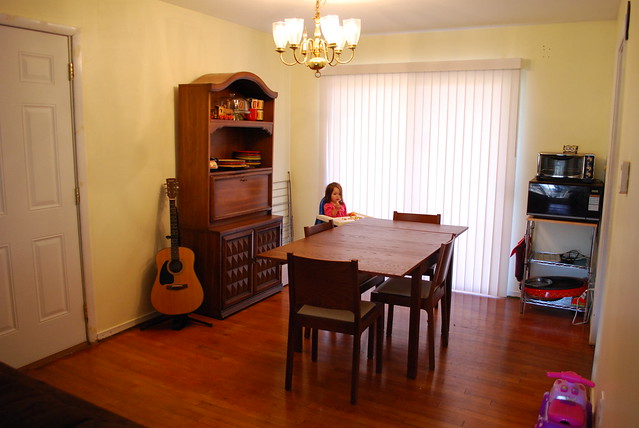
Our dining room is a mess right now, so please pardon all the clutter. I am working on cleaning and purging, but we’re still far from being done. The green bookcase is only here temporarily… I haven’t decided yet what I want to do with the space. Also, you’ll see the white shoe rack… I realize I never blogged about that. Will have to do that. ;-)
Dining room

Dining room

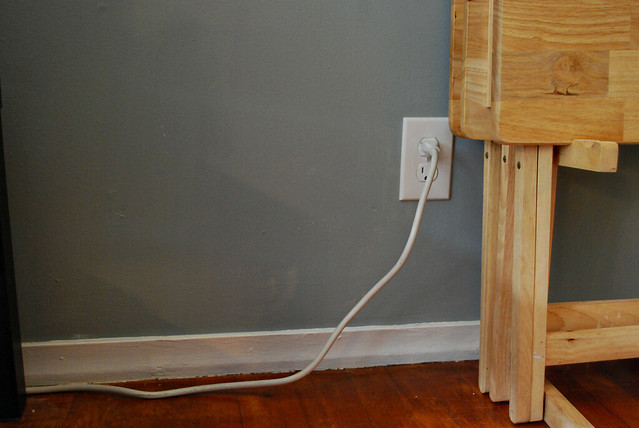
One of the really awesome things we did was paint all the baseboards. I will have to find a “before” picture to show how awful they looked, and the fresh coat of paint really did a lot to finish things off. Also, another thing my dad did was to replace all the old off-white outlets with white ones, as well as the old light switches with new white switches. It looks sooo much better!

Painted baseboards

We still have a ways to go before I feel “done”, but having a new coat of paint really does make a difference.

09/16/13

spray paint and a project from my YHL book

Originally published on May 14, 2013 at twentysixcats.com

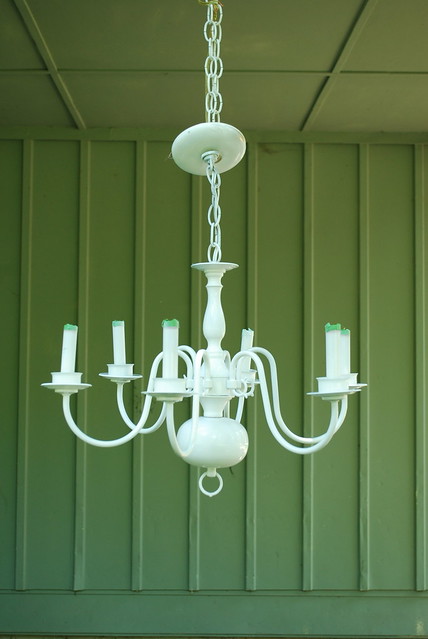
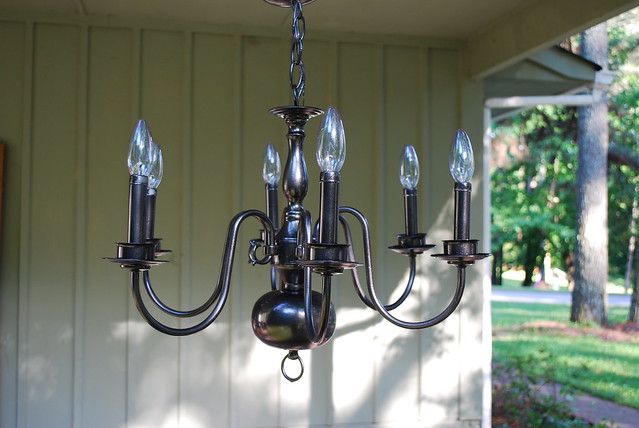
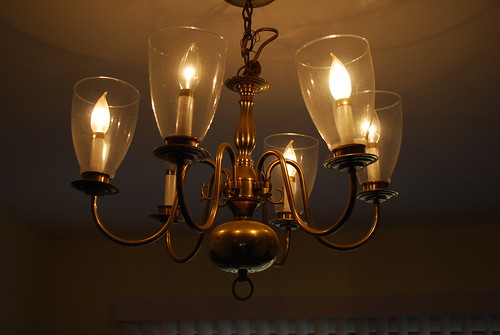
Today I did something I’ve been meaning to do for a long time… It involved spray paint and a project from my Young House Love (YHL) book! I gave our old brass chandelier an update.

It seems that I don’t have a “before” picture, boo. Well here is the closest I have:
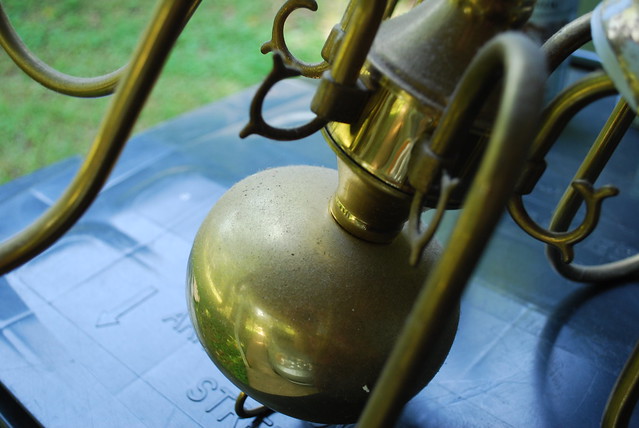
Ugly chandelier

One of the glass globes broke a while ago, so we took them all off.

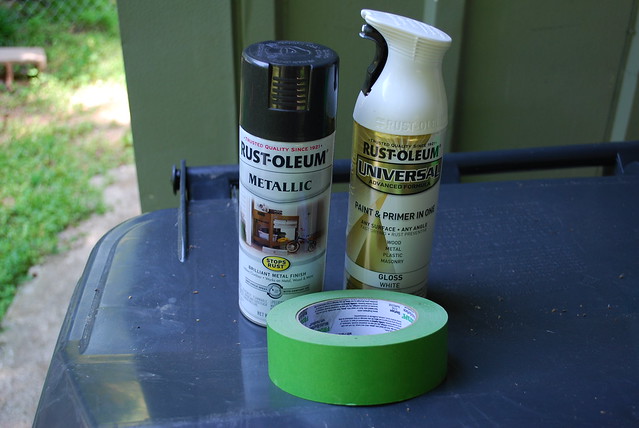
First I collected my spray paint. I used stuff that I already had from a previous project. I ended up buying another can of the metallic spray.
Spray paint

It was pretty dirty, so I cleaned it with a damp rag.
Before!

I covered the light bulb sockets with painter’s tape so they wouldn’t get paint in them, and then I started with the primer. I don’t think this is always necessary, but since I already had the primer I decided to go for it.
Coat of primer...

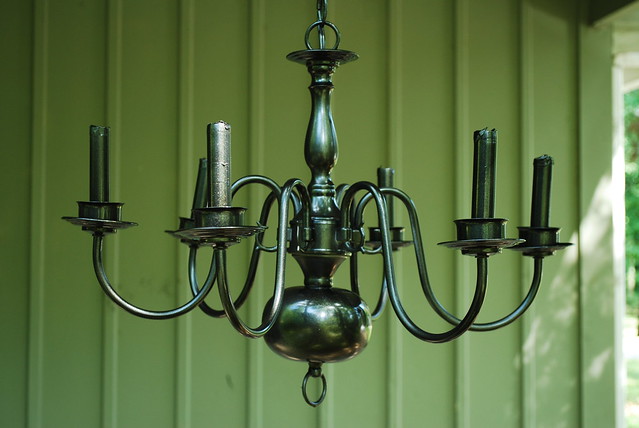
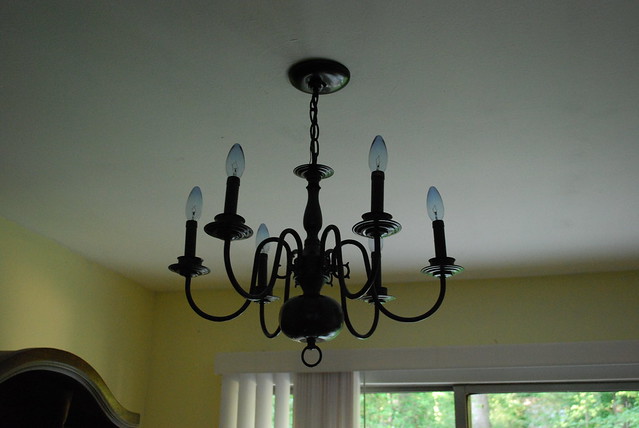
After the first coat of the metallic spray. It’s somewhat of a charcoal gray – I really love this color.
First coat

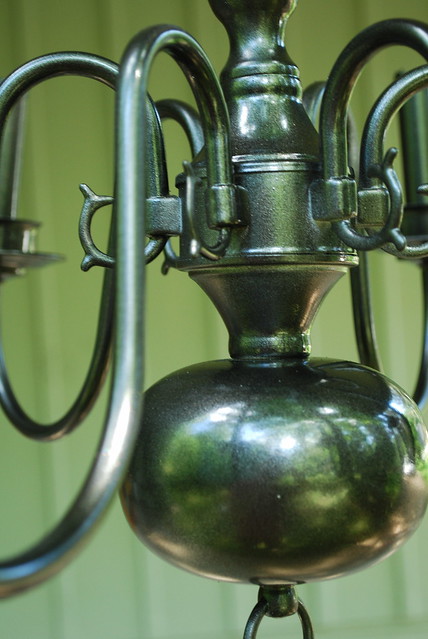
Closeup, while waiting for it to dry.
Waiting to dry

I just love the metallic finish.
Waiting to dry

Once dry, I took off the painter’s tape and put the bulbs back in!
Finished!

Hanging up! (Sorry for the not great picture – it was getting dark, and if I waited until tomorrow to take a picture I’d probably never get around to it!)
In place!

Here it is with the lights on.
With lights on

I really like it! Definitely an improvement. Now I need to get some pictures of the entire dining room with the “new” light fixture…

03/3/11

dining room

I never did take “after” pictures of our dining room. Since we had guests for dinner last night, I cleaned it up and this morning I decided to snap some pictures before it got messy again. :-) It hasn’t changed that much, which is another reason I never bothered with “after” pictures.
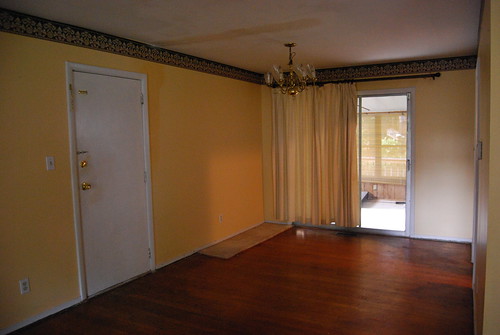
First, the “before”:
Dining room

And now for the “after” pictures, taken yesterday while Savannah was eating breakfast:

Dining room

It didn’t change all that much, so here is a list of the things we did:
* We removed the curtains (we still need to patch up the holes from there!). The curtains were dirty, but were actually really thick, so we used them as drop cloths for painting. They were excellent drop cloths!
* Removed the borderprint, and then painted all the walls a light yellow. We also painted the ceiling white.
* Refinished the hardwood floor.
* Last summer we removed the add-on sunporch from the back. That made a tremendous difference in the light! The room (and the whole main level of the house) is SO much brighter.
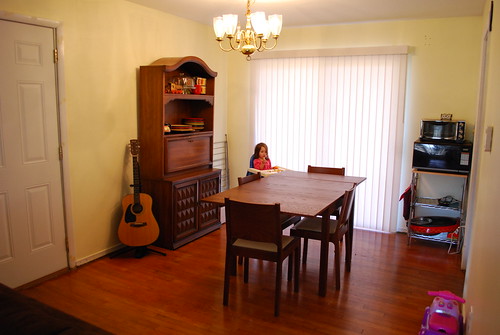
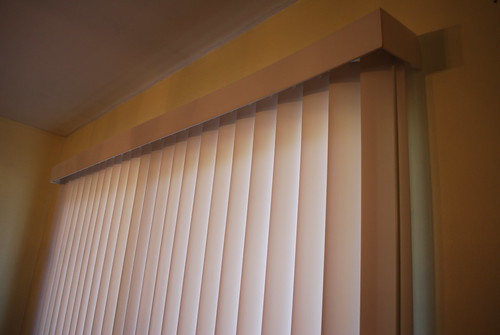
* Put up vertical blinds for privacy once the sunporch was gone.
* Replaced the side door that headed to the carport. This was a hollow wooden interior door that locked with a variety of little locks that any determined person could pop open. Actually, those locks were a little crooked so in order to lock them we couldn’t shut the door completely. We put in a steel door with a deadbolt.

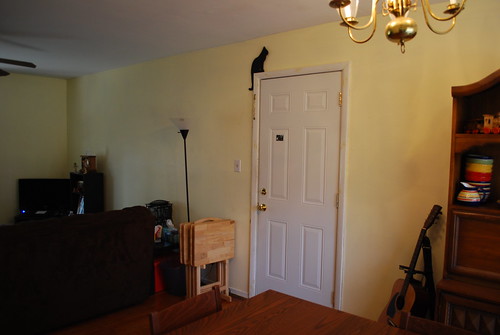
Here’s a better picture of the side door:
Side door to carport

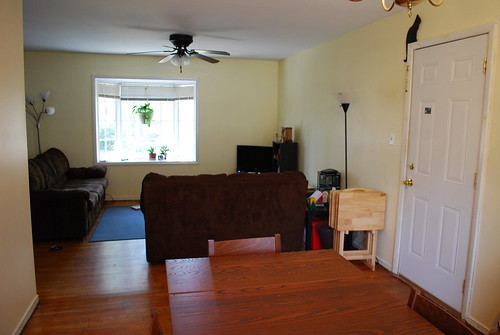
Other side of the dining room

Vertical blinds

This picture isn’t great, but here’s a closeup of the ugly chandelier, which we hope to replace someday:
Ugly chandelier

As I said, this room hasn’t changed that much since we bought the house.