10/21/13

outside updates

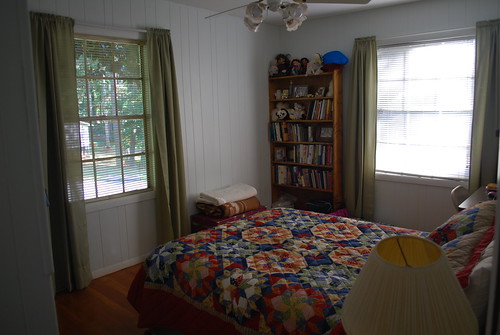
The weather has been beautiful the past two months or so, and we have been taking advantage by being outside more. I don’t really enjoy being outside when it’s not pleasant, and that probably shows in the overall cleanup of our house during the summer and winter months. So, it’s good for me to spend the time and energy to make up for it.

One of the things I spent a long time on was in cleaning up the bushes by the road. I talked a little bit about the azaleas here, and left with this picture:

Cut back azalea bushes

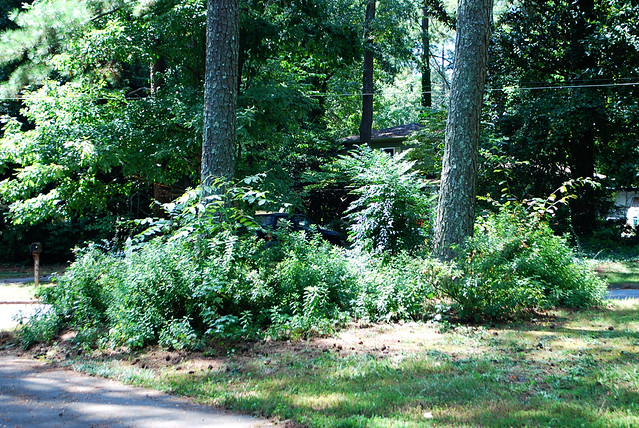
It’s not very obvious in the picture, but there are a lot of non-azalea bushes in that island that have somewhat taken over now that the azaleas have been cut back. So I spent a few hours outside one afternoon/evening with our pruning shears and lopped off as much as I could. I had to be really careful because there are vines with thorns starting to grow. I cut them back whenever I encountered them, but then I had to be careful because I wasn’t wearing gloves. Here is the after:
Azaleas, after trimming back
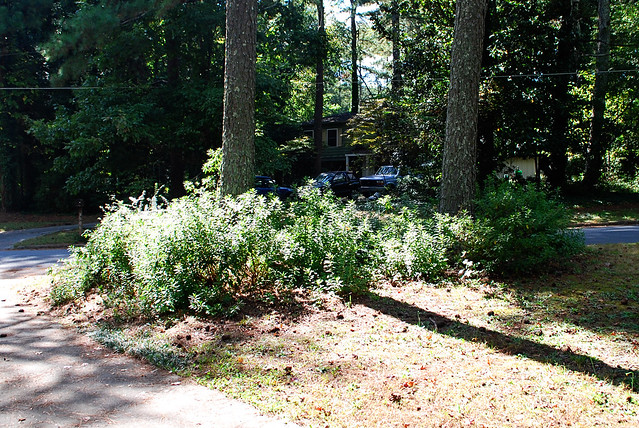
(Apologies for not taking these pictures in the best of light – I just know I need to take them when I think of it and not wait.)

I cut a lot back from the other pine island, but you can’t really tell. The thorny vines were worse on that side, so it was tedious, but I think it’s a good start.

Another thing I started doing was quickly pulling out the hose and spraying down the front of our house where the spider webs are going crazy (around our front door). It has really helped and doesn’t take too long. However, our house was at an awkward place just sprawling around the front stoop, so I decided to get one of those hose hiders from Home Depot. Because of the azaleas, I couldn’t put it on the ground, but I think it actually looks nice to have something on the front stoop.

Fall flavor

Fall flavor

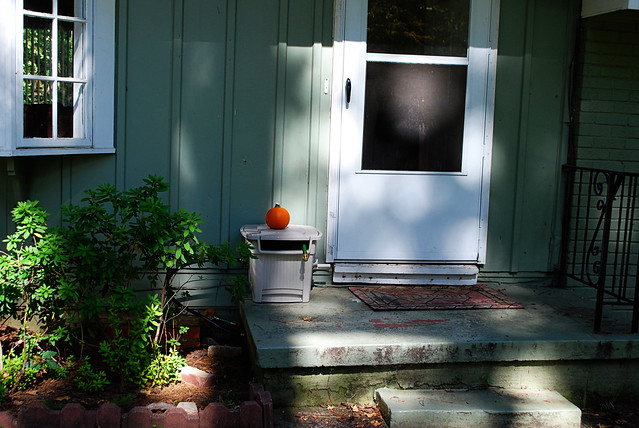
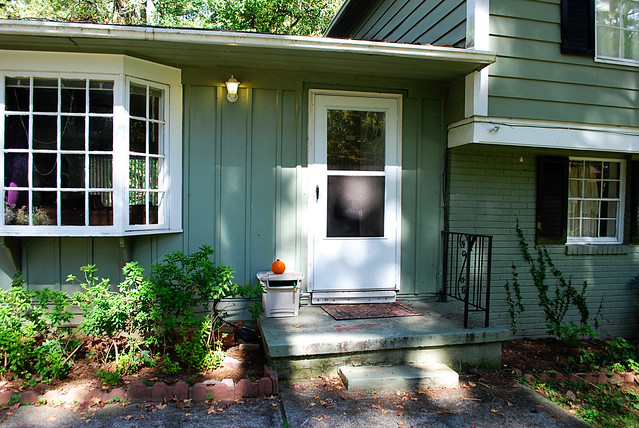
We didn’t paint the front door – it was just open. I try to leave the door open whenever the weather is nice, to help air out the house. I just wish we had screens elsewhere in the house so I could get some cross-ventilation going! (One of our cats makes a beeline for open doors and windows.)

I stuck the little pumpkin there for now, but we hope to get a big pumpkin soon. I think it looks very nice!

09/16/13

spray paint and a project from my YHL book

Originally published on May 14, 2013 at twentysixcats.com

Today I did something I’ve been meaning to do for a long time… It involved spray paint and a project from my Young House Love (YHL) book! I gave our old brass chandelier an update.

It seems that I don’t have a “before” picture, boo. Well here is the closest I have:
Ugly chandelier

One of the glass globes broke a while ago, so we took them all off.

First I collected my spray paint. I used stuff that I already had from a previous project. I ended up buying another can of the metallic spray.
Spray paint

It was pretty dirty, so I cleaned it with a damp rag.
Before!

I covered the light bulb sockets with painter’s tape so they wouldn’t get paint in them, and then I started with the primer. I don’t think this is always necessary, but since I already had the primer I decided to go for it.
Coat of primer...

After the first coat of the metallic spray. It’s somewhat of a charcoal gray – I really love this color.
First coat

Closeup, while waiting for it to dry.
Waiting to dry

I just love the metallic finish.
Waiting to dry

Once dry, I took off the painter’s tape and put the bulbs back in!
Finished!

Hanging up! (Sorry for the not great picture – it was getting dark, and if I waited until tomorrow to take a picture I’d probably never get around to it!)
In place!

Here it is with the lights on.
With lights on

I really like it! Definitely an improvement. Now I need to get some pictures of the entire dining room with the “new” light fixture…

10/18/11

Project Tuesdays and living room rug

I am going to try something new – we’ll see how long I am able to keep this up. I am going to try and update this blog every Tuesday with a house project that we did over the weekend. The purpose is twofold… one, it should keep this blog from getting too stagnant. Two, it should keep me doing things in the house. There are a lot of free or very inexpensive projects (as far as decorating, etc.) that I can do that will really help this house look better. I just tend to be very lazy!

This wasn’t something we did this weekend, but recently we did make a positive improvement to our living room: we got a new rug!

Here is a picture of our old rug:
Living room

When we moved into the house, we realized we needed something in the living room. Rugs are expensive, and to be honest I was not ready for that investment when I really had no clue about the decor of the room. So, we went to Home Depot where they were having a sale on 5×7 ft. rugs and picked out this blue one. I ended up really liking the color, but it was a little too small for the space. Also, I wanted something that was softer since we spend a lot of time on the floor. I decided to get something fairly neutral, matching our chocolate brown couches. We went to our nearby Rooms To Go Outlet and came home with this rug:

We got an 8×10 ft. which has helped somewhat keep our couches from sliding around everywhere. I looove the feel of this rug under my feet! We still need to figure out the perfect arrangement of our living room, but this is pretty functional for now.

New rug

New rug

I’ll have to use this rug to inspire me when I actually get around to decorating the house!

02/28/11

retractable clothesline

I finally bought a retractable clothesline to hang over my washer and dryer for the diaper covers that have to be air-dried. I used it for the first time tonight, and I really like it!

Diaper covers drying

09/29/10

new look for the guest room

New bedspread

When we got our guest bed a year ago, I went to a local discount linen store to get curtains, bedskirt, bedspread, and pillow shams. I thought the bedspread especially was beautiful! I still think so. However, after a year it has *not* held up. The stitching in the quilt is coming undone, and raveling to the point of being impossible to fix. I’m disappointed, especially because this was a guest bed, and not something that was used with any frequency. (A lot of people think that my cats tore up the quilt with their claws, but I just wanted to mention that this isn’t true. Their claws have done their fair share of damage on things around our house, but this quilt isn’t one of them.)

I decided to get a new bedspread/quilt for the guest bed. Since the bedskirt and curtains are still fine, I wanted to match them. I like the look of a quilt because me using the room for my sewing projects. It kinda puts me in the mood.

I’m pretty happy with the new quilt. I feel like it has a fall feel, and looks as warm and inviting as the other quilt. I hope this one lasts much longer!

(Pictures of old quilt here.)

Guest room